
Your scale modeling shop
Send to:
- Afghanistan
- Albania
- Algeria
- Andorra
- Angola
- Antigua and Barbuda
- Argentina
- Armenia
- Australia
- Austria
- Azerbaijan
- Bahamas
- Bahrain
- Bangladesh
- Barbados
- Belarus
- Belgium
- Belize
- Benin
- Bhutan
- Bolivia
- Bosnia and Herzegovina
- Botswana
- Brazil
- Brunei
- Bulgaria
- Burkina Faso
- Burma (Myanmar)
- Burundi
- Cambodia
- Cameroon
- Canada
- Cape Verde
- Central African Republic
- Chad
- Chile
- China
- Colombia
- Comoros
- Congo WHERE Dem. Republic
- Congo WHERE Republic
- Cook Islands
- Costa Rica
- Croatia
- Cuba
- Cyprus
- Czech Republic
- Denmark
- Djibouti
- Dominica
- Dominican Republic
- East Timor
- Ecuador
- Egypt
- Equatorial Guinea
- Eritrea
- Estonia
- Ethiopia
- Fiji
- Finland
- France
- Gabon
- Gambia
- Georgia
- Germany
- Ghana
- Gibraltar
- Greece
- Grenada
- Guatemala
- Guinea
- Guinea-Bissau
- Guyana
- Haiti
- Honduras
- HongKong
- Hungary
- Iceland
- India
- Indonesia
- Iran
- Iraq
- Ireland
- Israel
- Italy
- Ivory Coast
- Jamaica
- Japan
- Jordan
- Kazakhstan
- Kenya
- Kiribati
- Korea WHERE Dem. Republic of
- Kuwait
- Kyrgyzstan
- Laos
- Lebanon
- Lesotho
- Liberia
- Libya
- Liechtenstein
- Lithuania
- Luxemburg
- Macedonia
- Madagascar
- Malawi
- Malaysia
- Maldives
- Mali
- Malta
- Marshall Islands
- Mauritania
- Mauritius
- Mexico
- Micronesia
- Moldova
- Monaco
- Mongolia
- Montenegro
- Morocco
- Mozambique
- Namibia
- Nauru
- Nepal
- Netherlands
- New Caledonia
- New Zealand
- Nicaragua
- Niger
- Nigeria
- Niue
- Norway
- Oman
- Pakistan
- Palau
- Panama
- Papua New Guinea
- Paraguay
- Peru
- Philippines
- Poland
- Portugal
- Puerto Rico
- Qatar
- Romania
- Rwanda
- Saint Kitts and Nevis
- Saint Lucia
- Saint Vincent and the Grenadines
- Samoa
- San Marino
- São Tomé and Príncipe
- Senegal
- Serbia
- Seychelles
- Sierra Leone
- Singapore
- Slovakia
- Slovenia
- Solomon Islands
- Somalia
- South Africa
- South Korea
- Spain (Peninsula)
- Spain (Baleares)
- Spain (Canarias)
- Sri Lanka
- Sudan
- Suriname
- Swaziland
- Sweden
- Switzerland
- Syria
- Taiwan
- Tajikistan
- Tanzania
- Thailand
- Togo
- Tonga
- Trinidad and Tobago
- Tunisia
- Turkey
- Turkmenistan
- Tuvalu
- Uganda
- United Arab Emirates
- United Kingdom
- United States
- Uruguay
- Uzbekistan
- Vanuatu
- Vatican City State
- Venezuela
- Vietnam
- Western Sahara
- Yemen
- Zambia
- Zimbabwe

Suscríbete a nuestras newsletters
¿Qué tipo de modelismo te interesa? Marca las opciones que quieras seguir y recibe las últimas novedades en tu email sobre tu especialidad favorita.
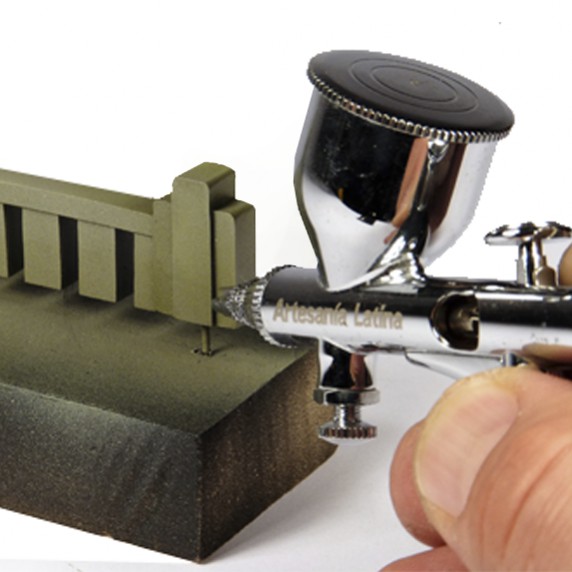 20 advices about how to paint with airbrush.
 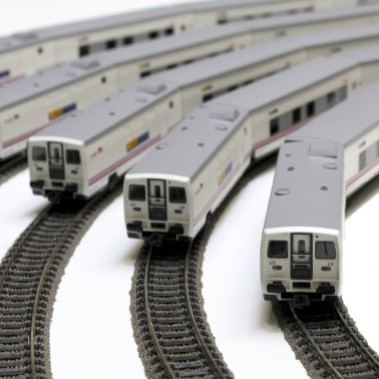 The circuit and the railway operation
  Aoshima Models
 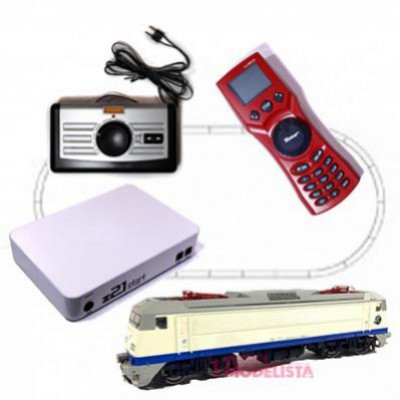 Which starter set do I choose?
  Tamiya in modelling: History of success


